
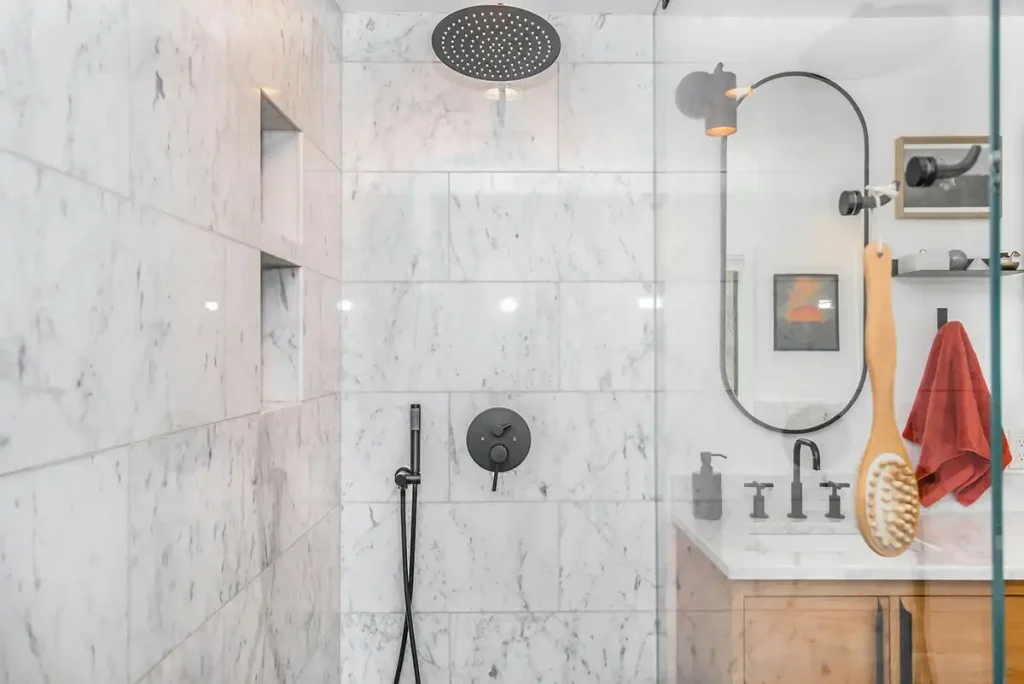
Identify the residue, soften it with a glass-safe cleaner, scrub gently, protect hardware, and check whether remaining cloudiness is permanent damage.
By Dan Burlingham
Cloudy shower glass can make an otherwise polished bathroom look neglected. For Simi Valley homeowners, the problem is often limescale from hard water, but the right treatment depends on whether the residue is mineral buildup, soap scum, or permanent glass damage.
Step 1: Identify Limescale on the Shower Glass
Limescale is a hard, chalky deposit left behind when mineral-rich water evaporates. It often appears as white spots, cloudy patches, or rough areas that ordinary glass cleaner cannot remove.
Hard water contains dissolved minerals, primarily calcium and magnesium. Each time water droplets dry on the shower door, small amounts of those minerals may remain.
The deposits tend to be heaviest near the bottom of the door, around overlapping panels, and beside hinges or brackets. Frequent shower use and allowing the glass to air-dry can cause the layers to become increasingly visible.
Step 2: Distinguish Limescale From Soap Scum and Etching
Determine what is causing the cloudiness before selecting a cleaner. Limescale usually feels rough, soap scum tends to feel waxy, and etched glass stays cloudy after surface deposits have been removed.
Common signs include:
- Limescale: White, crusty, spotted, or uneven deposits
- Soap scum: A dull or greasy film created by soap, body oils, and minerals
- Etching: Persistent haze or fine pitting within the glass surface
- Silicone staining: Discoloration concentrated along seals or caulk lines
- Hardware corrosion: White, greenish, or dull residue on metal components
Test a small cloudy area with a mild descaling solution. If the treated section becomes noticeably clearer, the problem is probably surface buildup.
If the haze remains unchanged after careful cleaning, the glass may be etched, scratched, or affected by a damaged protective coating.
Step 3: Choose a Cleaner That Is Safe for the Entire Enclosure
Use a cleaner that is approved for glass and compatible with the enclosure’s seals, hardware finishes, nearby surfaces, and any protective coating. Diluted white vinegar may be sufficient for light deposits, while a commercial calcium and lime remover may be necessary for heavier buildup.
Before applying a cleaner:
- Read the product label.
- Check whether the glass has a protective coating.
- Test a small, inconspicuous area.
- Ventilate the bathroom.
- Wear gloves and eye protection when directed.
Never combine cleaning products. The CDC warns against mixing bleach with other household cleaners because the combination can release dangerous fumes.
An EPA Safer Choice-certified product may be a useful starting point when comparing household cleaners. Confirm that the specific formula is intended for mineral deposits and compatible with shower glass.
Avoid assuming that a stronger chemical will produce a better result. Highly acidic or abrasive products can discolor metal finishes, weaken some sealants, or affect specialized glass coatings.
Step 4: Gather Nonabrasive Cleaning Tools
Use soft tools that will lift softened deposits without scratching the glass. A microfiber cloth, non-scratch sponge, spray bottle, squeegee, gloves, and clean towels are sufficient for most light cleaning jobs.
Avoid using:
- Green kitchen scouring pads
- Steel wool
- Pumice stones
- Abrasive cleaning powders
- Sandpaper
- Utility knives
- Rough brushes
- Dry melamine foam applied with heavy pressure
- Razor blades unless specifically approved and handled by an experienced professional
Tempered shower glass is strong, but it is not scratch-proof. Grit caught beneath a rough pad or scraper can leave permanent marks.
Rinse cloths and sponges regularly while working. A dirty cleaning tool can drag loosened mineral particles across the glass.
Step 5: Protect Hardware, Seals, and Nearby Materials
Shield sensitive materials before applying an acidic cleaner. Control runoff around hinges, brackets, handles, tracks, silicone joints, painted surfaces, and natural stone.
Acidic products can damage marble, travertine, limestone, and certain grout surfaces. Cover nearby stone or use a cleaner specifically approved for both the glass and surrounding materials.
Inspect the enclosure before cleaning. Look for:
- Loose handles or hinges
- Cracked or lifting silicone
- Torn vinyl sweeps
- Corroded brackets
- Chips along exposed glass edges
- Gaps where cleaner could collect
When possible, apply cleaner to a microfiber cloth instead of spraying heavily around hardware. Rinse metal components promptly and dry them after treatment.
Do not apply household oils or waxes to hinges or moving parts unless the enclosure or hardware manufacturer recommends them.
Step 6: Remove Light Limescale With Diluted Vinegar
Light mineral deposits can often be softened with equal parts white vinegar and water. Work in small sections and keep the solution from drying on the surface.
Rinse Away Loose Debris
Rinse the glass with warm water to remove hair, dust, and loose residue. This reduces the risk of dragging grit across the surface.
Apply the Vinegar Solution
Combine equal parts white vinegar and water in a spray bottle. Apply the mixture to the affected glass while limiting contact with hardware, caulk, and decorative finishes.
For better control, dampen a microfiber cloth with the solution and press it against the mineral spots.
Do not use vinegar until you have confirmed that it is compatible with any protective treatment on the glass.
Let the Solution Work Briefly
Allow the vinegar solution to remain wet for about five minutes. Do not let it dry on the door.
Keeping the area damp gives the mild acid time to soften calcium deposits without requiring aggressive scrubbing.
Wipe With Gentle Pressure
Use a clean microfiber cloth or non-scratch sponge to wipe the softened residue. Apply light, even pressure with overlapping strokes.
Avoid forceful circular scrubbing. Several gentle passes are safer than one aggressive attempt.
Rinse and Dry the Glass
Rinse the treated area thoroughly with clean water. Dry it immediately with a fresh microfiber towel or squeegee.
Inspect the glass once it is completely dry. Repeat the treatment once if the deposits have improved but remain visible.
Step 7: Treat Heavy Limescale in Controlled Stages
Heavy limescale usually requires a dedicated mineral-deposit remover and more than one controlled treatment. Thick buildup should be dissolved gradually rather than scraped away.
Choose a product labeled for calcium, lime, or hard-water deposits. Confirm that it is compatible with:
- Tempered glass
- Coated or treated glass
- Chrome, brass, nickel, or black hardware
- Silicone seals
- Glazing materials
- Nearby tile or stone
Apply the cleaner according to the label and keep it confined to the affected glass. Do not increase the concentration or leave the product on longer than directed.
After the required dwell time, wipe the softened residue with a non-scratch pad or microfiber cloth. Rinse the glass and surrounding materials thoroughly.
Dry the surface and inspect it under bright, angled light. Repeat the treatment only when the product instructions allow it.
Leaving a descaler on overnight is unlikely to reverse permanent etching. It may instead damage hardware, seals, coatings, or adjacent finishes.
Step 8: Follow the Correct Cleaner Dwell Time
Give the cleaner enough time to soften the deposits, but do not assume that a longer dwell time is better. The appropriate contact time depends on the product’s ingredients and concentration.
For diluted vinegar, about five minutes is a reasonable starting point for light buildup. Keep the glass wet during that period and rinse before the solution dries.
For commercial descalers, follow the manufacturer’s instructions exactly. Some concentrated products are intended for very brief contact.
Check the test area frequently during the first application. Stop and rinse immediately if you notice discoloration, unexpected hazing, coating changes, or damage to nearby finishes.
Step 9: Inspect the Dry Glass for Permanent Cloudiness
Evaluate the results only after the shower glass is clean and completely dry. Remaining haze may indicate etching, scratches, coating failure, or mineral damage that has affected the surface.
Possible signs of permanent damage include:
- Cloudiness that looks similar when wet and dry
- Fine pitting visible under angled light
- Haze that does not respond to a tested descaler
- Scratches from previous abrasive cleaning
- Uneven appearance within a protective coating
- Years of untreated hard-water exposure
Stop escalating to harsher chemicals when repeated safe cleaning no longer produces improvement. More aggressive scrubbing may scratch the door without restoring clarity.
Professional polishing may help in limited situations, but it is not suitable for every shower panel. Glass thickness, tempering, surface damage, visual distortion, and restoration cost all affect whether polishing is practical.
Replacement may provide a more reliable result when the glass is extensively etched, scratched, chipped, or damaged.
Step 10: Prevent Hard-Water Spots From Returning
Remove water from the glass after each shower to slow the return of mineral deposits. In Simi Valley homes, regular drying is often more effective than waiting for another deep-cleaning project.
A practical maintenance routine includes:
- Squeegeeing the glass after every shower
- Drying the lower edge and hardware with a microfiber cloth
- Running the bathroom exhaust fan
- Treating light spotting before it becomes crusted
- Repairing dripping showerheads or fittings
- Following the care instructions for protective coatings
A water softener may reduce mineral accumulation throughout the home, but it will not eliminate soap residue, body oils, or the need for routine cleaning.
Some homeowners choose a manufacturer-approved or professionally applied protective coating. These treatments can make water easier to remove, but they still require maintenance and compatible cleaning products.
Step 11: Arrange a Professional Glass Assessment When Needed
Contact a glass professional when cloudiness does not respond to safe cleaning, deposits surround structural hardware, or the enclosure has signs of damage. A professional can help determine whether the glass needs cleaning, restoration, adjustment, repair, or replacement.
Request an inspection when:
- The glass has chips or edge damage.
- Hinges or brackets are loose or corroded.
- The door drags, binds, or will not close properly.
- Water leaks outside the enclosure.
- Seals or sweeps are cracked or missing.
- Previous cleaning has scratched the surface.
- The glass may have a specialty coating.
- You are comparing restoration with replacement.
Community Glass & Mirror is a family-owned Simi Valley company that has served Ventura County and parts of Los Angeles County since 1960. Its experienced glass professionals specialize in custom shower doors and enclosures, including precision work on frameless glass systems.
The company is licensed, insured, and bonded in California. Its own employees complete projects from start to finish, giving homeowners a reliable local point of contact for glass work performed inside their homes.
Restore and Protect Your Shower Glass
Successful limescale removal depends on identifying the residue, choosing a compatible cleaner, allowing controlled contact time, and using nonabrasive tools. Once the glass is clean, daily drying can help keep hard-water minerals from rebuilding.
Stop when careful cleaning no longer improves the cloudiness. Persistent haze may be etched into the surface and should be evaluated before harsher chemicals or tools cause additional damage.
For an expert assessment of cloudy, damaged, or aging shower glass, contact Community Glass & Mirror for a free estimate. Homeowners planning a larger bathroom upgrade can also ask about custom enclosures or a professionally designed glass block shower wall suited to their privacy, maintenance, and design preferences.
About the Author
Dan Burlingham is the owner of Community Glass and Mirror. He is also still the man that comes out to your home to give quotes on the work and keeps the company running smoothly with all of its employees. Being a locally owned company means you have someone to turn to if you ever have a problem. Dan has carried the traditions of high skilled custom glass and mirror work for residential and commercial work.