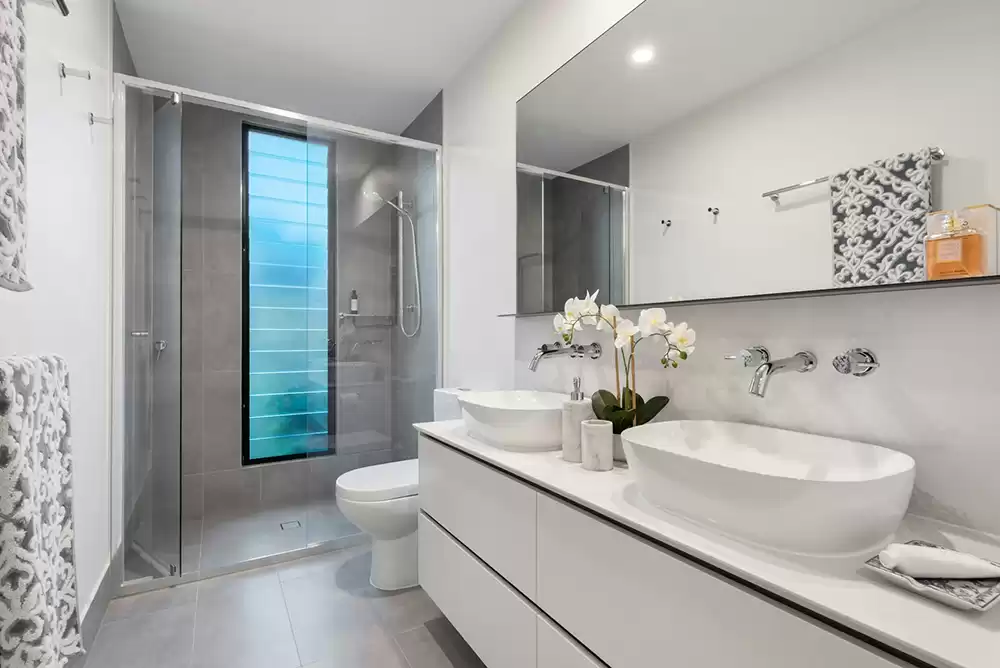
A new shower door can instantly help your bathroom look and feel more modern. Continue reading to learn the steps you need to take to ensure a professional and seamless installation of your frameless bifold shower door.
Introduction to Frameless Shower Doors
Unlike traditional framed shower doors, frameless ones are constructed from thick tempered glass. A frameless shower door enhances the aesthetic appeal by creating a sense of openness and spaciousness in your bathroom, adding a clean and contemporary look to any bathroom.
Necessary Tools and Materials
Before you begin the installation process, you will need to have these tools and materials on hand:
- Measuring tape
- Level
- Drill and drill bits
- Screwdriver
- Glass cleaner
- Silicone caulk
- Shims
- Hinges and handles (included with your frameless shower door kit)
Start by thoroughly cleaning the shower area to remove any dirt or debris, especially in the corners where you’ll install the frameless bifold shower door. Make sure the walls and floor are dry, and check that the walls are plumb and level to ensure a proper fit.
Measuring and Marking for Installation
Using a measuring tape, carefully measure the width and height of the shower opening. Take precise measurements to ensure the frameless bifold shower door fits perfectly. Mark the centerline of the shower opening both horizontally and vertically to serve as a reference point during installation.
Cutting and Fitting the Door
If your frameless shower door needs to be trimmed to fit the opening, carefully measure and mark the cutting lines on the glass. Use a glass cutter to score along the marked lines, then gently snap the glass along the score lines. Once trimmed, test-fit the door in the opening to ensure a proper fit.
Installing Hinges and Handles
Install the hinges and handles onto the frameless shower door. Use a level to ensure the hinges are lined up properly before securing the screws in place.
Sealing and Securing the Door
Apply a generous bead of silicone caulk along the edges of the frameless bifold shower door where it meets the walls and floor. Doing this will create a watertight seal and prevent leaks. Next, use shims to ensure the door is properly aligned and secured while the caulk dries.
Testing and Adjustments
Once the silicone caulk has dried, open and close the frameless shower door to test it out, then make any necessary adjustments to the hinges or handles to ensure proper alignment and functionality.
Maintenance and Cleaning Tips
Maintain your frameless shower door by regularly cleaning it with a mild glass cleaner and a soft cloth or sponge. Stay away from abrasive cleaners or harsh chemicals, and be sure to inspect the silicone caulk periodically. You may need to reapply the caulk to maintain a watertight seal.
A frameless bifold shower door adds both style and functionality to your bathroom. By following these simple steps, you can successfully install one of these in your own home.
At Community Glass and Mirror, we have Delta frameless shower doors, custom framed glass shower doors, and more. Don’t hesitate to reach out; our team is ready to answer any questions you have about installing shower doors.


